Try something outside of your comfort zone, think outside the box, etc. So say the pundits. Well, this year's CSLP summer reading theme is making me do just that. I have always loved the results of origami but have had difficulty understanding the directions provided to get those results. Now, thanks to YouTube and a presentation by storyteller Megan Hicks, I am going to combine origami with storytelling for my "Shapes" family storytime.
The origami: I did a little online research on origami shapes. I decided I would like to make a cube. I found that there are two ways to make a cube. One way is more complicated but it gave me an idea for a story that I will work on later. The other way is less complicated but the end result isn't as precise (at least for the beginner). It is called the "Water Bomb" and is a basic origami shape. The story of Sally goes with the folding of this shape.
Notes: You will need a flat surface. If you are standing, have a table next to you. If you are sitting, I have found that a large book in my laps works well as a surface for folding. Telling this story will take practice. Use scrap paper - I used outdated fliers. You can make your own origami paper. I would suggest pre-folding the paper you are using so that it folds easily as you tell the story. Do not rely on the instructions within the story below. They are just there to tell you which action to do at that time. Find a video or online tutorial that makes sense to you and learn how to make the water bomb. Please note that for the folding to work with this story both sides have to be done at the same time. Some instructions have you completing one side before repeating the steps to do the other. Also, I plan to have an "emergency cube" hidden just in case I mess up the last part!
Sally the Square
by Linda Meuse
Notes from the Story Room
April 11, 2014


by Linda Meuse
Notes from the Story Room
April 11, 2014
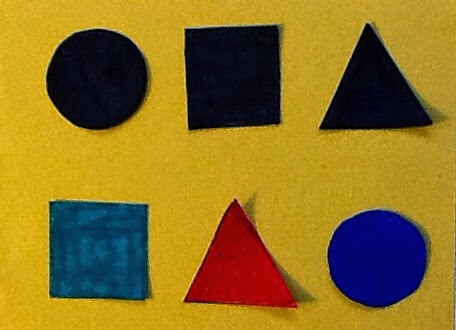
Sally was a square that liked to change herself. Sometimes she would turn herself into a rectangle. (Fold in half then unfold.) Sometimes she liked to be a triangle, folding herself one way or the other way. (Fold corner to corner both ways then unfold.) The problem is that all these shapes are flat. Sally really wanted to be 3 dimensional so that she could stand up on her own. One day Sally decided to try to get herself to stand up on her own. She managed to fold herself into a smaller triangle. (Push the sides in to make the base.) She could stand up but the wind soon knocked her over. "I need to be stronger," thought Sally. "I will fold myself up some more." (Fold the corners up on both sides to make a square.) Sally was stronger but she still couldn't stand up so she folded herself up some more. (Turn the square to make a diamond and fold the corners to the center on both sides.) Sally had never folded herself up like this before. Now she was an interesting shape but still couldn't stand up. Sally decided to fold herself up some more. (Fold all of the flaps and tuck them in to the pocket - this will take some time so you may want to count each section as you fold it.) Sally then started to try to stand herself up. (Gently pull apart sides.) Suddenly a gust of wind came along and much to Sally's surprise she became bigger and was able to stand up! (Blow into hole at one end and inflate the cube.) Sally was very happy because now she was 3 dimensional. She was a cube. Optional: Draw a happy face on Sally with a black marker.
Origami paper from copy paper
First fold - rectangle
Second and third folds - triangles
(These folds are made on the opposite side of the first fold)
Open paper and push sides with crease in to make base.
Fold corners of triangle up on both sides to make a square.
Fold opposite corners in toward center.
Fold flaps on top and tuck into "pocket."
Left figure: The left flap is folded but not tucked in yet.
Right figure: Flaps are tucked in and it has been gently pulled apart.
Blow in the hole formed at the bottom point to inflate cube.
Sally!
This week's Flannel Friday Round-Up is hosted by Anna of Future Librarian Superhero.